 how-to
How to Visualize Event Decor: 7 Steps to See It First
Table of Contents
- Start With the Venue: Measure the Room Before You Dream
- Build an Event Design Mood Board That Sets the Direction
- Draft an Event Floor Plan and 2D Layout
- Use Event Design Software to Build a 3D Model
- Plan Event Lighting Design Alongside the Decor
- Preview Under Realistic Conditions and Estimate Your Budget
- Share the Vision With Your Venue, Vendors, and Rental Team
- Finalize the Design and Review It After the Event
- Frequently Asked Questions
Last Updated: October 16, 2026
Start With the Venue: Measure the Room Before You Dream
You cannot visualize event decor on a blank page. The room decides what works before you do.
At XL Entertainment Systems, we have walked into hundreds of spaces since 1992, and the same truth holds every time: a design that looks stunning on a mood board can fall flat once it meets real ceilings, real columns, and real carpet. Measuring first is the single step most couples skip.
So grab a tape measure, a notebook, and your phone. You are about to turn a vague idea into something you can actually picture.
What to Measure and Photograph
Record the room's length and width. Note the ceiling height in at least three spots, because ballrooms often slope or drop over the dance floor.
Then capture these details:
- Column placement and how much floor they eat
- Door and window positions
- Existing wall color, carpet, and fixtures
- Power outlet locations near the stage and bar
- Ceiling anchors or beams that can hold draping
Photograph each wall straight on, then take wide shots from every corner. These images become your reference all the way through the process.
Build an Event Design Mood Board That Sets the Direction
A mood board is a visual collection of colors, textures, and images that captures the feeling you want your event to have. It turns scattered ideas into one clear direction.
Start with your event theme or concept. Then pull together:
- A color palette of three to four shades
- Fabric and linen textures
- Lighting tones you love
- Photos of backdrops, tables, and statement decor
Keep it to one page or one screen. If two images fight each other, one has to go. The goal is a single, cohesive look that guides every later choice.
Draft an Event Floor Plan and 2D Layout
An event floor plan is a scaled drawing of the room showing where tables, the dance floor, the stage, and the bar will sit. It is your first real check on whether the space can hold your guest count.
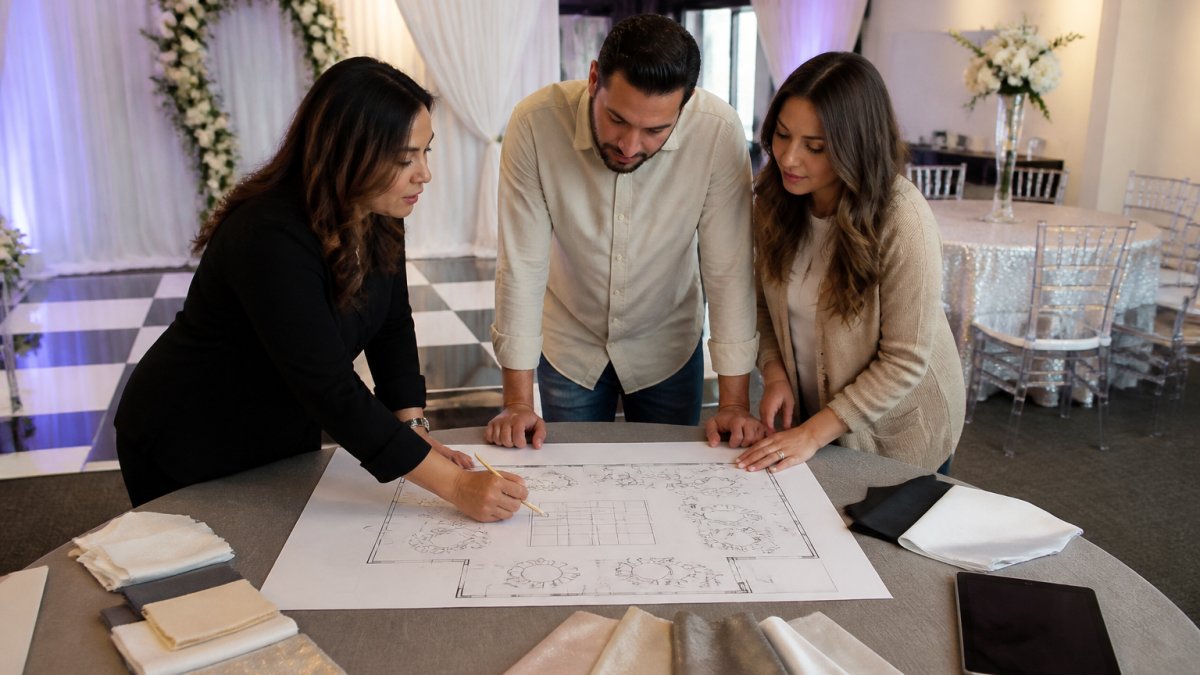
Sketch it on paper or use a free 2D layout tool. Mark room dimensions to scale first, then place your big pieces.
Marking Guest Flow, Sightlines, and Focal Points
Guest flow is how people move through the room. Sightlines are what each guest can see from their seat. Both matter more than most people expect.
Leave clear paths to the bar, restrooms, and exits. Then check that no column blocks the view of the sweetheart table or stage. Your focal points, the spots you want every eye to find, should stay open and centered.
Use Event Design Software to Build a 3D Model
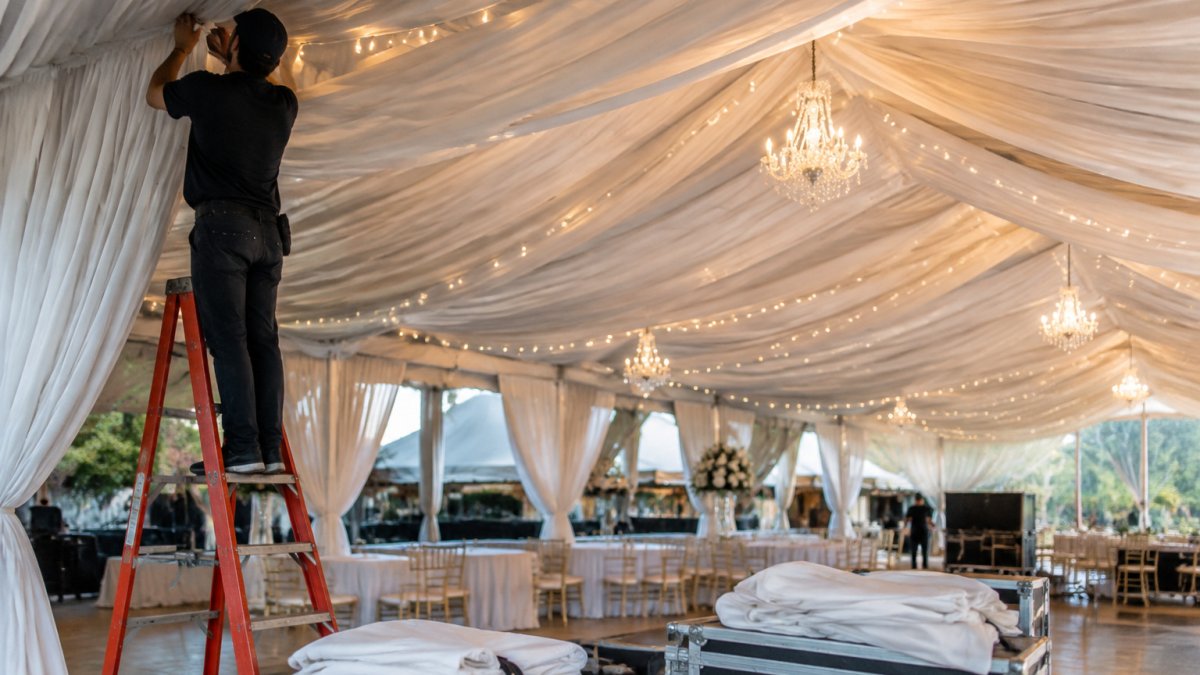
Event design software turns your 2D layout into a 3D model you can spin, zoom, and walk through. It shows height, depth, and how draping and lighting will actually read in the room. That matters most for the elements that live above eye level: ceiling draping, bistro and string lights, stage wraps, and tall backdrops.
Popular tools let you drop in tables, chairs, stages, and backdrops to scale. You can test a round dance floor against a rectangular one without moving a single chair.
Choosing the Right Tool for Your Skill Level and Project
Not every project needs the same tool. Match the tool to the decision you are trying to make.
- Sketching on paper or a tablet: Best for early concept work. Fast, free, and easy to change. Weak at scale and height.
- Mood boards (Pinterest, Canva, or a physical board): Best for locking color, texture, and lighting tone before you commit to a layout.
- 2D room planners (free drag-and-drop apps and venue-provided planners): Best for guest counts, table spacing, and confirming the room can hold your plan. Weak at showing draping height or lighting wash.
- 3D event design software: Best for ceiling draping, stage design, lighting placement, and anything a guest will look up at. Steeper learning curve and often a subscription.
- Rental team mockups: Best when you want to see real fabric, real fixtures, and real scale in a space like yours without learning software.
A practical rule: use 2D for layout decisions and 3D only for the elements that depend on height and light. Most couples do not need a full 3D model of every table.
Beginner-Friendly Alternatives When Software Feels Like Too Much
Not everyone wants to learn a new program. That is fine.
- Print your 2D layout and place paper cutouts for each table
- Use a free room planner app with drag-and-drop shapes
- Ask your rental team for a mockup of similar spaces they have transformed
- Photograph a similar setup at another venue and mark what you would change
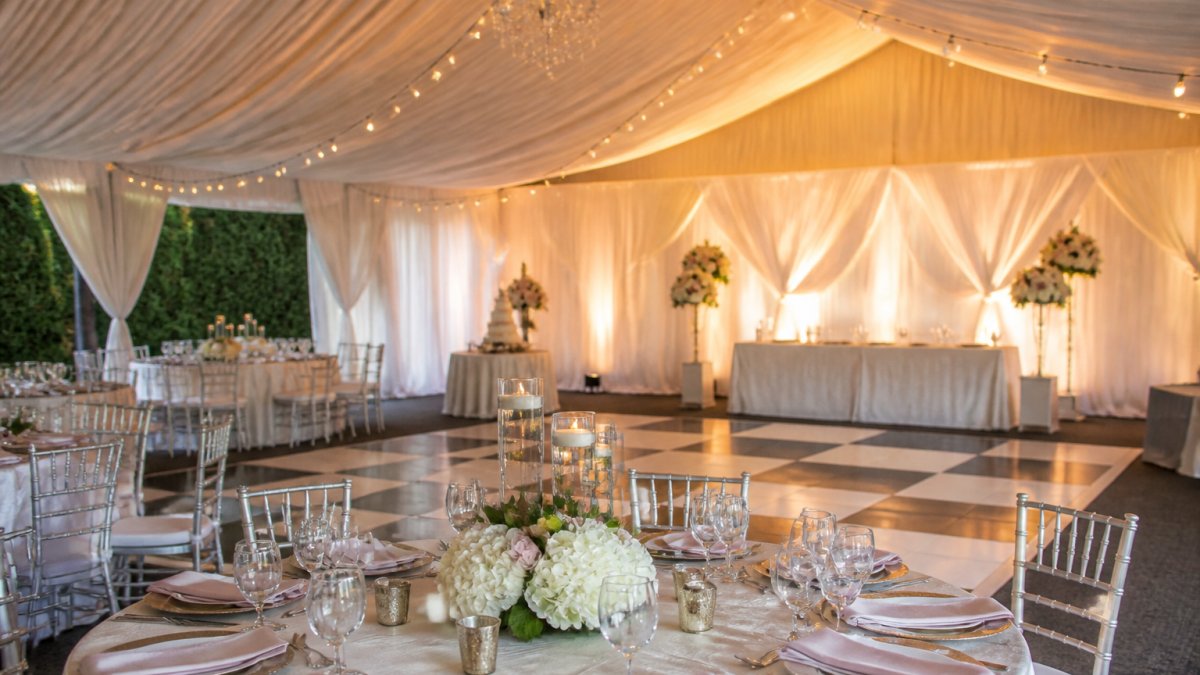
Seeing real photos of a space like yours often beats a perfect 3D render. A rental team that installs draping, lighting, and dance floors every week can tell you in minutes whether your ceiling height supports a full-room drape or whether a partial design will read better.
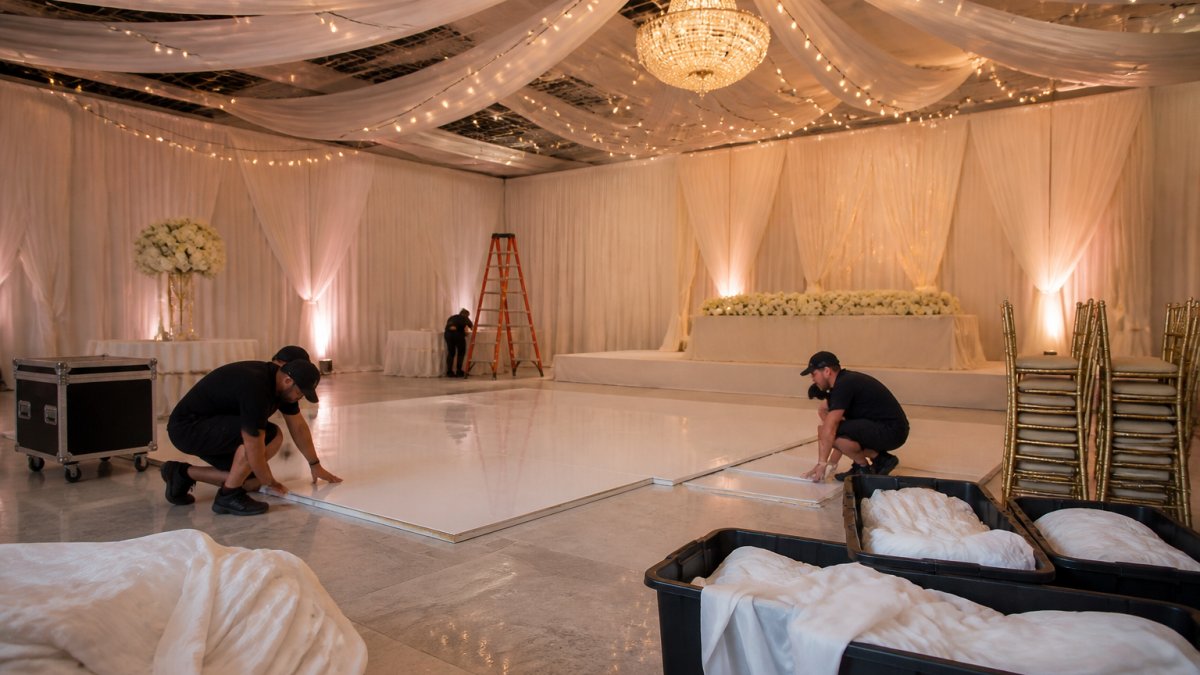
At XL Entertainment Systems, we have installed draping, lighting, dance floors, and stages across Southern California since 1992, so we can often describe how a specific design will read in a specific room before you build a single model. Share your venue and event date, and we will walk you through what will and will not work in that space.
Plan Event Lighting Design Alongside the Decor
Event lighting design is the layer that decides whether a room feels warm, dramatic, or flat. Plan it with your decor, not after it.
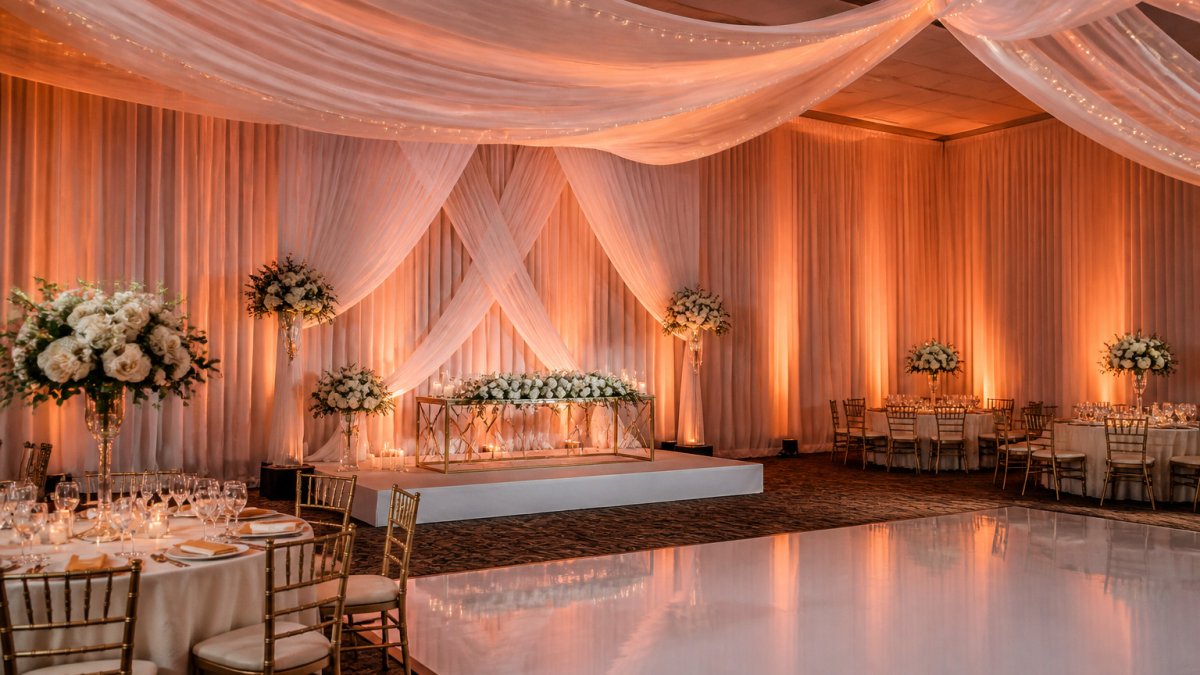
Uplighting washes walls in color and makes draping glow. Bistro and string lights add warmth overhead. Accent lighting picks out a backdrop or a cake table.
Match your lighting tones to your palette. Amber and warm white flatter skin tones and photos. Cool tones read more modern but can feel cold in a brick or industrial room.
Preview Under Realistic Conditions and Estimate Your Budget
A render on a bright screen always looks better than the real thing. Preview under the conditions your guests will actually see, and estimate scope before you commit. This is the step most visualization guides skip, and it is the one that prevents expensive surprises.
Preview Lighting and Decor Under Real Conditions
Lighting changes how every fabric, surface, and color reads. Test your design against the conditions your event will actually have.
- Time of day: A room with west-facing windows at 5 p.m. looks nothing like the same room at 8 p.m. If your event spans sunset, plan for both.
- Existing venue lighting: Ask the venue what fixtures stay on, what can be dimmed, and whether house lights are fluorescent, LED, or incandescent. Each reads differently on fabric.
- Your added lighting: Uplighting washes walls in color and makes draping glow. Bistro and string lights add warmth overhead. Accent lighting picks out a backdrop or a cake table. Preview all three together, not separately.
- Camera view: Walk the room through a phone camera at guest eye level. Photos flatten depth and shift color, so what looks rich in person can look flat in images.
- Setup constraints: Confirm power outlet locations, ceiling anchors, and load limits before you finalize any hanging design.
Estimate Scope and Budget Before You Commit
You do not need exact pricing to plan well. You need to know which elements drive cost and how to compare options.
Start by listing must-haves and nice-to-haves. Draping, lighting, dance floor, and chairs often deliver the biggest visual change for the spend, so most couples prioritize those first.
Then estimate quantities:
- Draping: Linear feet of wall or ceiling to cover, plus height. Ceiling draping is priced by coverage and complexity, not by the panel.
- Lighting: Number of uplights depends on wall length and spacing. Bistro and string lights depend on run length and anchor points.
- Dance floor: Square footage based on guest count and whether you want a round or rectangular shape.
- Chairs: One per guest, plus extras for the head table, ceremony, and any lounge seating.
- Stage and backdrops: Width and height of the focal area, plus any custom wrap or decal.
Pricing depends on quantity, dates, delivery distance, and installation time, so ask for a written quote rather than guessing.
At XL Entertainment Systems, we build free custom quotes around your event date, venue, and requested services, so you can see how draping, lighting, dance floors, and chairs combine before you commit. Share your details and we will help you scope the design that fits your room and your budget.
Share the Vision With Your Venue, Vendors, and Rental Team
Your design only works if everyone builds the same picture. Share your mood board, floor plan, and photos in one simple packet.
Send it to your venue to confirm rules on hanging, anchors, and load limits. Send it to your rental team so they know exact counts and setup needs. A clear visual brief prevents the last-minute surprises that wreck timelines.
At XL Entertainment Systems, we ask clients for their event date, venue, and requested services up front. That lets us flag anything that will not work before the event day, not during it.
Finalize the Design and Review It After the Event
Lock your design two to three weeks out. Confirm counts, colors, and setup times in writing with every vendor.
After the event, review what matched your vision and what did not. Photos are your best record. Note which focal points landed and which lighting tones looked best in person. That feedback makes your next event easier to visualize from the start.
Planning a wedding or event means juggling draping, lighting, dance floors, and chairs, and it is easy to lose the vision in the details.
Frequently Asked Questions
How do you visualize event decor before the event?
Start with the empty room. Measure the space, photograph it from the main guest angles, and note fixed features like columns, outlet placement, and ceiling height. Then build a mood board for direction, sketch a floor plan to scale, and use design software to raise the plan into a 3D model. Layering draping, lighting, and furniture into that model shows you how the finished space will read before anything is delivered.
What tools can I use to create an event design mockup?
Event design software ranges from free room planners to professional 3D platforms, and many rental companies provide renderings as part of the design process. If software feels overwhelming, a scaled floor plan, a mood board, and photos of past setups in similar venues can carry the same message. What matters is that the mockup shows scale, color, and lighting, not that it came from a specific tool.
How do I visualize wedding decor in a venue I have never seen?
Ask the venue for photos and approximate room dimensions, then request examples of similar spaces a rental company has transformed. A team that has worked in your venue type can describe how draping, uplighting, and a dance floor will sit against the actual walls and ceiling. That combination of photos, dimensions, and past examples closes most of the gap before you ever walk the room.
When should I finalize an event decor design?
Lock the design once the venue is confirmed, the floor plan fits the guest count, and lighting and draping have been previewed together. Most planners aim to finalize several weeks before the event so vendors can confirm inventory and installation timing. After that point, small swaps like linen color are easy, but structural changes to draping or lighting design usually are not.